 How-to
How Do You Prevent Leaks in a Tub-to-Shower Conversion?
Last Updated: October 28, 2026
Quick Summary
Tub to shower conversions leak mainly behind the wall, so prevention depends on continuous waterproofing that laps shingle-style from the pan up the walls, a clamped drain, and a flood test before closing the walls. Tile and panels are decorative and do not stop water on their own.
- Waterproofing must be continuous from the top of the shower down over the pan flange and into the drain assembly.
- Reinforce every seam, inside corner, outside corner, and penetration before applying the field membrane.
- Apply at least two coats of liquid membrane at the manufacturer's specified wet-film thickness.
- Keep weep holes open at the drain so any water that reaches the membrane can escape.
- Flood test the pan with about 2 inches of water for at least 24 hours before tile or panels go on.
Table of Contents
- Why Tub-to-Shower Conversions Leak in the First Place
- Assessing the Bathroom and Planning the Conversion
- How to Waterproof Shower Walls Before Tiling or Panels
- Installing the Shower Pan and Checking Drainage
- How to Run a Shower Pan Leak Test Before Closing Walls
- How to Check for Shower Leaks After Installation and Use
- Tub-to-Shower Conversion Mistakes That Cause Leaks
- Booking Your Conversion With a Licensed Installer
- Frequently Asked Questions
Why Tub-to-Shower Conversions Leak in the First Place
Most tub-to-shower leaks don't come from the showerhead or the glass door. They start behind the wall, where water sits against framing and drywall for months before anyone sees a stain, so a careful tub to shower conversion starts with the hidden layers.
Here's the core problem: an old tub was never built to be a shower. Its drain, plumbing, and wall framing were set up for a bath, so a conversion has to fix several things at once. U.S. Access Board ADA guide on bathing rooms
Common leak sources include:
- Gaps where the new wall material meets the tub flange
- Unsealed corners and cut edges on backer board
- Worn or misaligned drain connections
Assessing the Bathroom and Planning the Conversion
Before any demolition, inspect the existing bathroom for a tub to shower project. Look for soft subfloor, rotted framing, and any signs of past moisture.
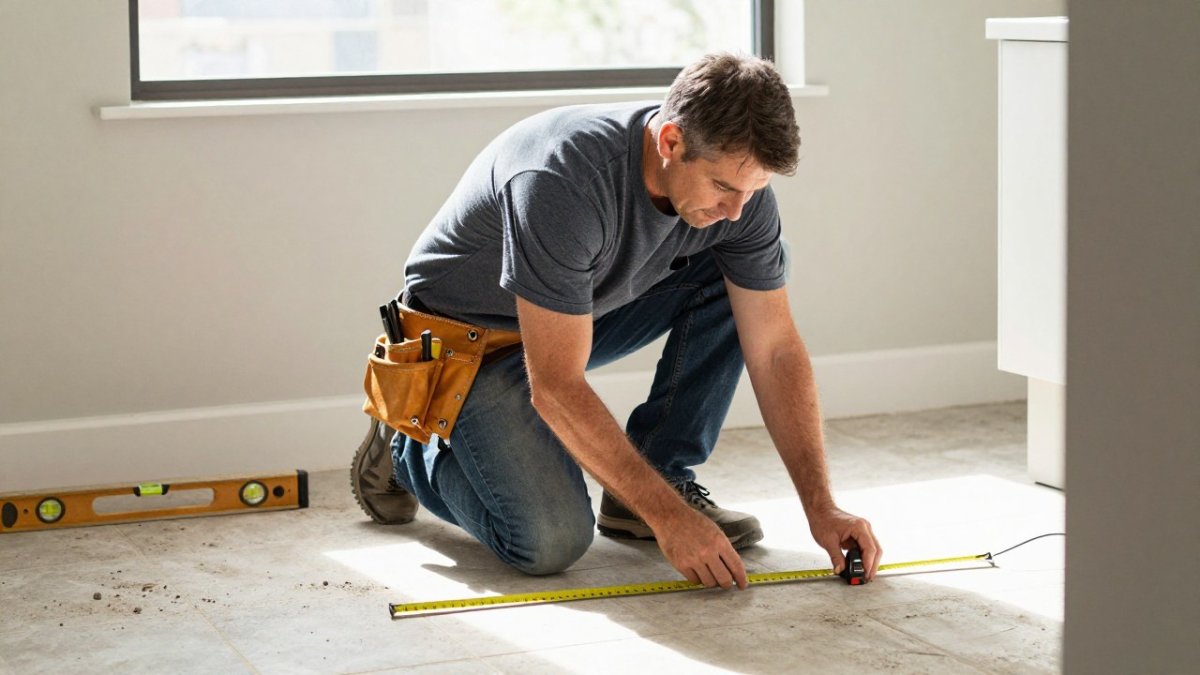
Plan the layout around the drain location, because moving a drain adds cost and labor. Measure the opening so the shower pan and wall system fit with proper slope.
Planning checklist:
- Confirm the drain location and whether it can stay put
- Note any existing water damage that must be repaired first
- Verify the valve and shower head positions
A common mistake is buying materials before measuring the finished opening. Measure twice, then order.
How to Waterproof Shower Walls Before Tiling or Panels
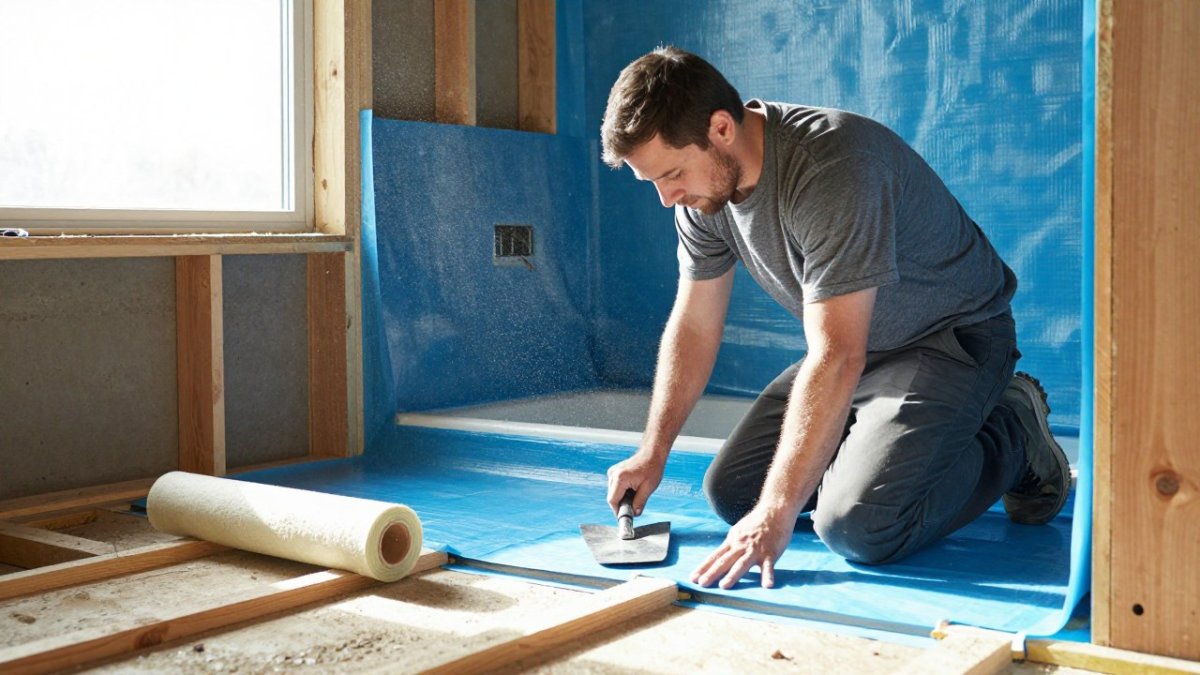
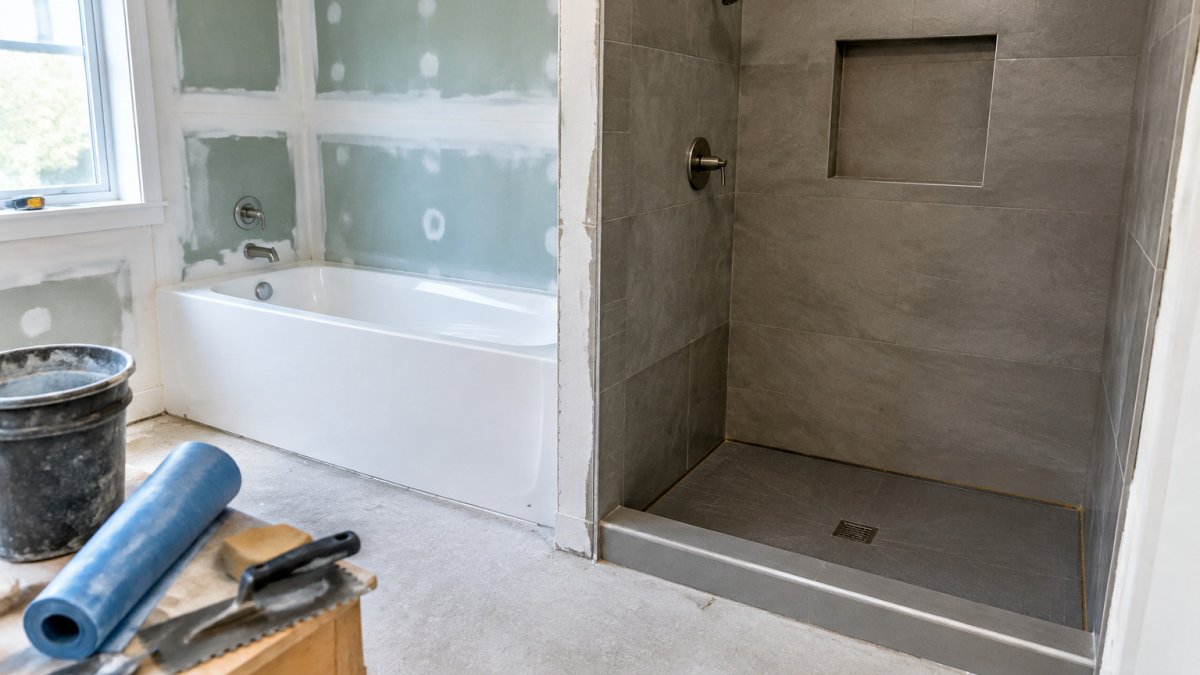
Waterproofing is the single step that decides whether a conversion leaks. Tile, grout, and most wall panels are not waterproof on their own, they are decorative wear surfaces.
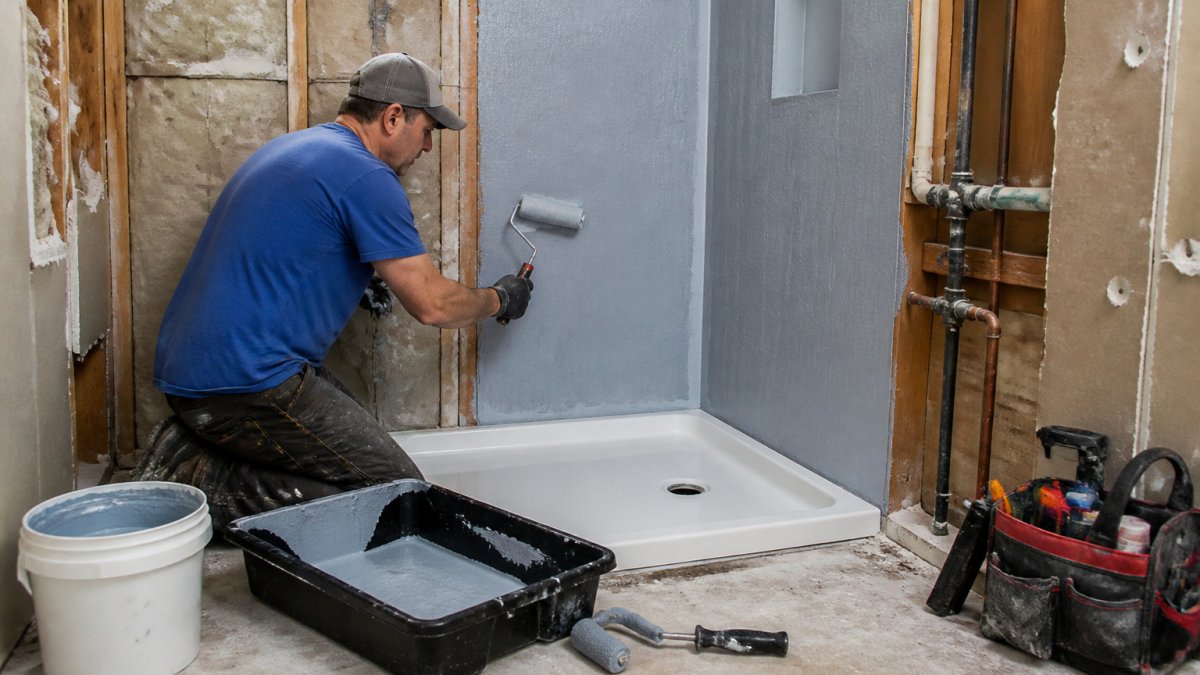
Work in a deliberate order: substrate prep first, then seams and corners, then the field membrane, then the pan-to-wall transition, then the drain connection.
Step 1: Prep the Substrate
Waterproofing only bonds as well as the surface under it. Backer board joints should be tight, fasteners should be set flush (not proud), and the surface should be clean, dry, and dust-free. Most liquid-applied membrane manufacturers specify a maximum moisture content for the substrate and a minimum temperature for application, check the product data sheet, because applying below the stated temperature or over damp board is a common cause of membrane failure.
Step 2: Treat Seams, Corners, and Penetrations First
Every seam, inside corner, outside corner, and penetration (valve, showerhead arm, grab bar blocking) gets reinforced before the field membrane goes on. Use the manufacturer's reinforcing fabric or waterproof tape embedded in a coat of liquid membrane, or the matching sheet-membrane corner pieces. This step is not optional, it is where most failures begin.
Step 3: Apply the Field Membrane
For liquid-applied systems, apply at least two coats at the manufacturer's specified wet-film thickness, typically using a roller or trowel. The second coat goes on after the first has cured to the touch but before the recoat window closes, most products list a window in hours, and missing it means scuffing the surface before recoating. For sheet membranes, overlap seams by the manufacturer's specified amount (commonly 2 inches on horizontal seams and 2 inches on vertical seams, but always confirm against the product instructions) and roll the seams to consolidate the bond.
Step 4: Tie the Wall Membrane Into the Pan
The wall waterproofing must overlap the pan flange or liner, never butt against it. With a sheet liner and backer board, the backer board stops above the liner, the liner runs up the wall behind it, and the wall membrane laps over the liner flange. With a liquid-applied system over a pre-sloped pan, the wall membrane carries down over the pan's integrated flange.
Step 5: Connect to the Drain
The drain is a two- or three-part assembly, and the waterproofing has to be clamped between the lower flange and the clamping ring. Weep holes at the drain must stay open, they let any water that reaches the membrane escape to the drain instead of sitting under the tile. Do not seal over weep holes with thinset or membrane.
Choosing a Compatible System
Membranes, backer boards, sealants, pans, and drains are engineered as systems, and mixing brands or product families is a leading cause of premature failure. A few practical rules:
- Match the membrane to the substrate. Some sheet membranes bond only to specific backer boards or to cement board; some liquid membranes require a primer over gypsum-based board.
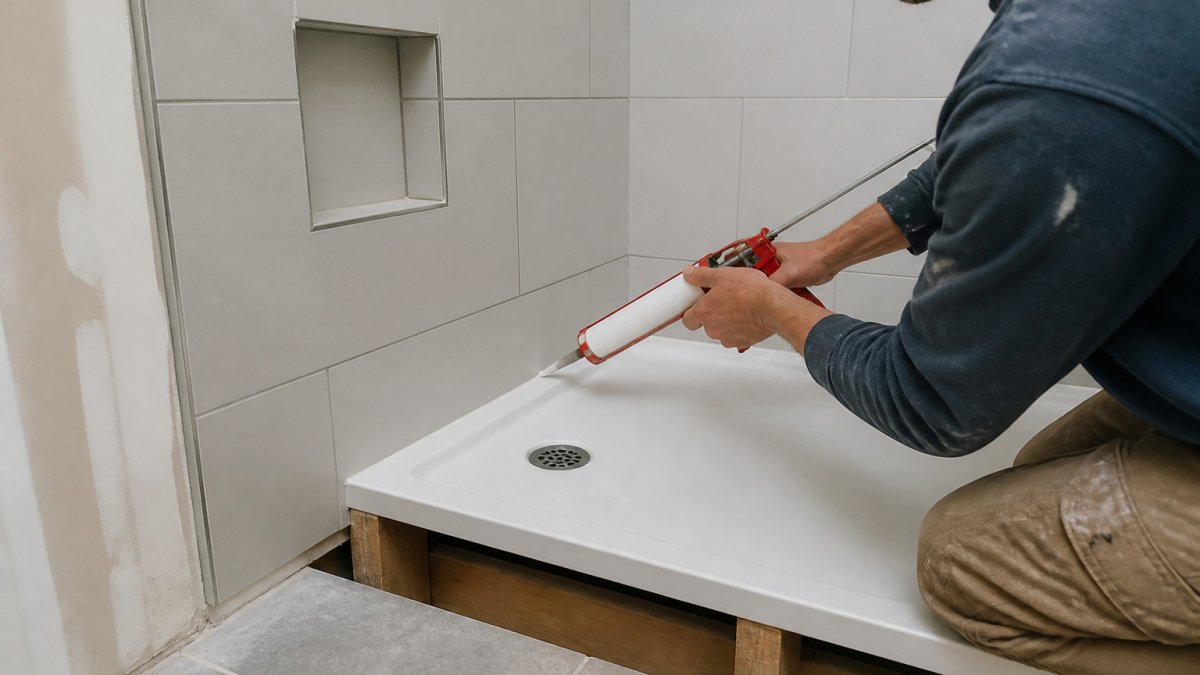
- Use the manufacturer's sealant. A generic silicone at a membrane seam may not bond to the membrane. Use the sealant the membrane maker lists for that joint.
- Respect cure and recoat times. Liquid membranes need time to cure before flood testing; testing too soon can trap moisture or damage the film.
Do not substitute a waterproof backer board for a full waterproofing system unless the manufacturer lists the board as the waterproofing layer and specifies how seams, corners, and the pan transition are treated. "Water-resistant" and "waterproof" are not the same claim.
Photograph each stage, substrate, seams, field membrane, pan transition, drain clamp, before covering anything. If a leak appears later, those photos tell you where to look first and support any warranty claim.
Installing the Shower Pan and Checking Drainage
The shower pan has to slope toward the drain, so water never pools on the floor.
Set the drain flange so it sits flush with the pan surface. A raised or low drain is a frequent source of standing water and slow leaks.
Test the drain flow before you close anything up. Run water and watch for any pooling or slow spots.
How to Run a Shower Pan Leak Test Before Closing Walls
A flood test, also called a water test or pan test, is the only reliable way to prove the pan and drain hold water before tile, wall panels, or finished flooring conceal them. Once the walls are closed, a failed pan means demolition. Before closure, it means a repair.
When to Test
Test after the pan liner or waterproof pan is installed, the drain is clamped, and the wall waterproofing is tied into the pan, but before any tile, thinset, or wall panel goes on. If you are using a liquid-applied membrane over the pan, wait until the membrane has cured per the manufacturer's instructions; testing a partially cured film can damage it or produce a false pass.
The Flood Test Procedure
- Plug the drain. Use a test plug sized to the drain opening, or an inflatable plug seated in the drain body below the weep holes. Confirm the plug holds by filling a small amount of water first.
- Fill to depth. Fill the pan with water to a depth of about 2 inches at the deepest point, enough to cover the entire pan surface and the drain flange.
- Mark the level. Mark the water line on the wall or on a vertical reference with a pencil or tape, and note the time.
- Wait at least 24 hours. Many jurisdictions and manufacturers require a minimum test duration; 24 hours is the common minimum, and some inspectors require longer. Confirm the requirement before you schedule an inspection.
- Re-check the level. A drop in the water line indicates a leak, but first rule out evaporation, which can be meaningful in a dry, warm room. If the drop is small, re-mark and re-check over a shorter interval to distinguish evaporation from a slow leak.
- Inspect below and around. Look at the ceiling below the bathroom, the framing around the drain, and the pan perimeter for moisture, staining, or softness. A slow drain-flange leak often shows up below the floor before the water level moves noticeably.
Drain-Specific Checks
The drain is the most common leak point in a new pan, and the flood test alone does not always catch it. While the pan is full:
- Confirm the clamping ring is tight and the liner or membrane is captured between the flanges.
- Verify the weep holes are open and not plugged with thinset or sealant.
- Check the connection between the drain body and the drain pipe below the subfloor, a loose slip joint or unsealed connection leaks into the ceiling cavity, not the pan.
Inspection Hold Points
If your jurisdiction requires a plumbing or building inspection, the flood test is typically a hold point: the inspector wants to see the pan full or see evidence of a passed test before signing off on closure. Photograph the water level at start and end, and keep the test plug and drain exposed until the inspection is complete. Scheduling the inspection before the test, rather than after, avoids re-opening a closed wall.
If the Test Fails: Symptom-to-Cause Guide
| Symptom | Likely cause | Where to look first |
|---|---|---|
| Water level drops steadily | Puncture or seam failure in liner/membrane | Pan field, seams, corners |
| Water level drops slowly, ceiling below damp | Drain connection or clamping ring | Drain body, subfloor penetration |
| Water pools at one edge, no level drop | Improper slope, not a leak | Pan slope and drain height |
| Moisture at wall base after test | Wall-to-pan transition lap reversed or incomplete | Pan flange overlap |
| Musty smell after test, no visible water | Water trapped under membrane | Weep holes, drain clamping |
After the Test Passes
Drain the pan, let the surface dry per the manufacturer's instructions, and protect the membrane from foot traffic and dropped tools until tile or panels are installed. Re-test if any repair is made to the pan, drain, or wall transition after the initial pass, a patch is a new variable.
A passed flood test is the cheapest insurance in the project. It costs a day of waiting; a failed pan discovered after tile costs demolition, replacement, and possible framing repair.
How to Check for Shower Leaks After Installation and Use
Leak checks don't stop at installation. Watch for early warning signs during the first few months of use.
Warning signs to watch for:
- Soft or discolored drywall near the shower
- Musty smells or visible mold along seams
- Cracked or lifting caulk at corners
Check the caulk and grout every few months, and reseal any gaps promptly. Keep the drain clear of hair and soap buildup.
Tub-to-Shower Conversion Mistakes That Cause Leaks
Several mistakes show up again and again in failed conversions:
- Skipping the pan leak test and closing the walls too early
- Leaving unsealed cut edges on backer board
- Using the wrong sealant for wet areas
Each of these is preventable with careful planning and a methodical installation.
Booking Your Conversion With a Licensed Installer
A leak-free conversion depends on experienced installation. Revo Kitchen and Bath, led by a third-generation builder with more than 30 years of hands-on experience, specializes in shower conversions and FIBO wall panels.
For current pricing, contact us for a free quote.
Frequently Asked Questions
How do you prevent leaks when converting a tub to a shower?
Leak prevention depends on three things: a continuous waterproofing layer behind the wall surface, a shower pan that slopes toward the drain, and sealed seams, joints and corners at every penetration. Test the pan and drain with water before closing the walls, because a leak found at that stage costs far less to fix than one found after tiling.
Can shower wall panels prevent leaks?
Shower wall panels can prevent leaks when they are installed over a properly prepared substrate and every seam, corner and penetration is sealed according to the manufacturer's instructions. Panels that are fastened to studs without a suitable backer or without sealed joints allow water to reach the framing. Confirm that the panel system is compatible with the shower pan and drain you are installing, since transitions between the two are a common failure point.
How long should you wait before using a newly converted shower?
Wait until the sealant, grout and any waterproofing membrane have cured fully before running water over them. Cure times vary by product, so check the manufacturer's data sheet for each material. Many installers recommend waiting at least 24 to 72 hours before regular use, and a shower pan leak test should be completed before any tile or panel is installed over the pan.
What should you do if a shower leaks behind the wall?
Stop using the shower and shut off the water supply if the leak is actively wetting the wall or floor. Look for staining, soft drywall, peeling paint or a musty smell, which often indicate water behind the surface. Have a licensed plumber or remodeler locate the source, since the leak may come from the drain, a supply line or a failed seam. Address any standing moisture quickly to limit mold growth and structural damage.
Get a free quote from Revo Kitchen and Bath to plan a leak-resistant shower conversion built to last.