 How-to
7 Steps to Prevent Water Damage in Bathroom Remodels
Last Updated: November 14, 2026
Quick Summary
To prevent water damage in bathroom remodels, treat the project as a sequence of protective steps, starting with inspecting the subfloor and plumbing before anything is covered. Use moisture-resistant backer board, install a waterproofing membrane, seal every seam, and run a flood test before tile goes in. Water damage bathroom problems most often begin during the remodel, not after it.
- Check subfloor and plumbing for damage before covering it with new materials.
- Use cement board or other moisture-resistant panels around showers and tubs.
- Install a shower waterproofing membrane and overlap seams as the manufacturer specifies.
- Fill the shower pan to about one inch below the curb and leave it at least 24 hours.
- Ventilate with a ducted exhaust fan rated at least 50 cubic feet per minute.
Table of Contents
- Why Water Damage Starts During Remodels, Not After
- Step 1: Inspect and Repair the Existing Subfloor and Plumbing
- Step 2: Choose Moisture-Resistant Backer Board and Materials
- Step 3: Install a Bathroom Shower Waterproofing Membrane
- Step 4: Build Waterproof Shower Walls and Seal Every Seam
- Step 5: Run a Flood Test Before Tile Goes In
- Step 6: How to Check for Leaks After a Bathroom Remodel
- Common Bathroom Remodeling Mistakes That Lead to Water Damage
- Frequently Asked Questions
Why Water Damage Starts During Remodels, Not After
Most water damage in bathrooms does not begin when the shower is first used, since the water damage bathroom problem often starts earlier during the remodel itself. It begins during the remodel itself, when old walls are opened, subfloors are exposed, and new materials go in before the moisture path has been sealed. Small gaps made during demolition can turn into costly problems months later.
Water finds the weakest point. During a remodel, that often means a seam that was never sealed, a plumbing joint that was not checked, or a wall cavity left open to humidity. Preventing water damage in bathroom remodels means treating the project as a sequence of protective steps, not a single finish stage.
- Water enters through unsealed seams and corners
- Old subfloors often hide rot or prior leaks
- Trapped moisture behind new tile can grow mold
The National Kitchen and Bath Association guidance cited by Consumer Reports bathroom remodeling guide on ventilation calls for a ducted exhaust fan rated at least 50 cubic feet per minute. The same guidance notes that a bathroom may need twice that capacity, so ventilation is part of prevention from the start.
Step 1: Inspect and Repair the Existing Subfloor and Plumbing
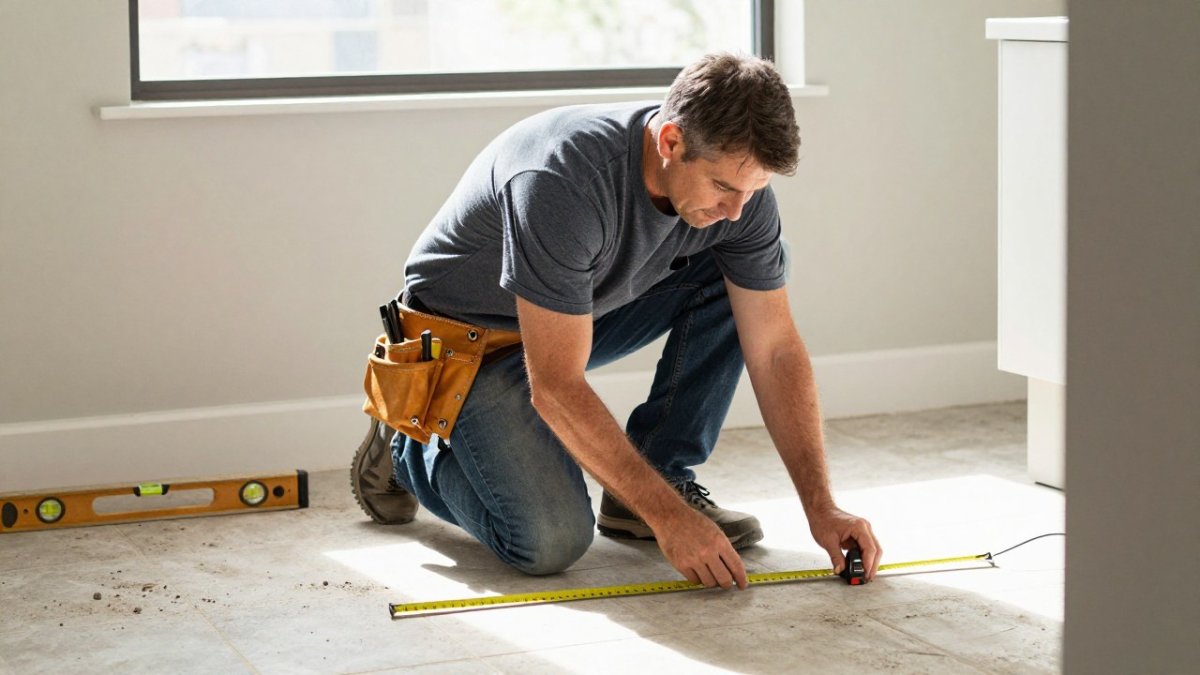
Before any new material goes in, check the subfloor and plumbing for damage that is already there. Pull up a test section of flooring if needed, and look for soft spots, staining, or a musty smell. Repair anything that is wet or rotted before it gets covered.
Check every supply line and drain connection while the walls are open. A slow drip you cannot see today can cause water damage bathroom issues that ruin the new work within a year.
Watch out: Covering a suspect subfloor with new tile hides the problem but does not solve it. Fix the source first.
Step 2: Choose Moisture-Resistant Backer Board and Materials
Select backer board and finish materials rated for wet areas. Standard drywall and some older wood products break down when they stay damp. Cement board or other moisture-resistant panels hold up far better around showers and tubs.
Confirm that every material works with the membrane and adhesives you plan to use. A mismatched system can fail even when each part is rated for wet areas.
Step 3: Install a Bathroom Shower Waterproofing Membrane
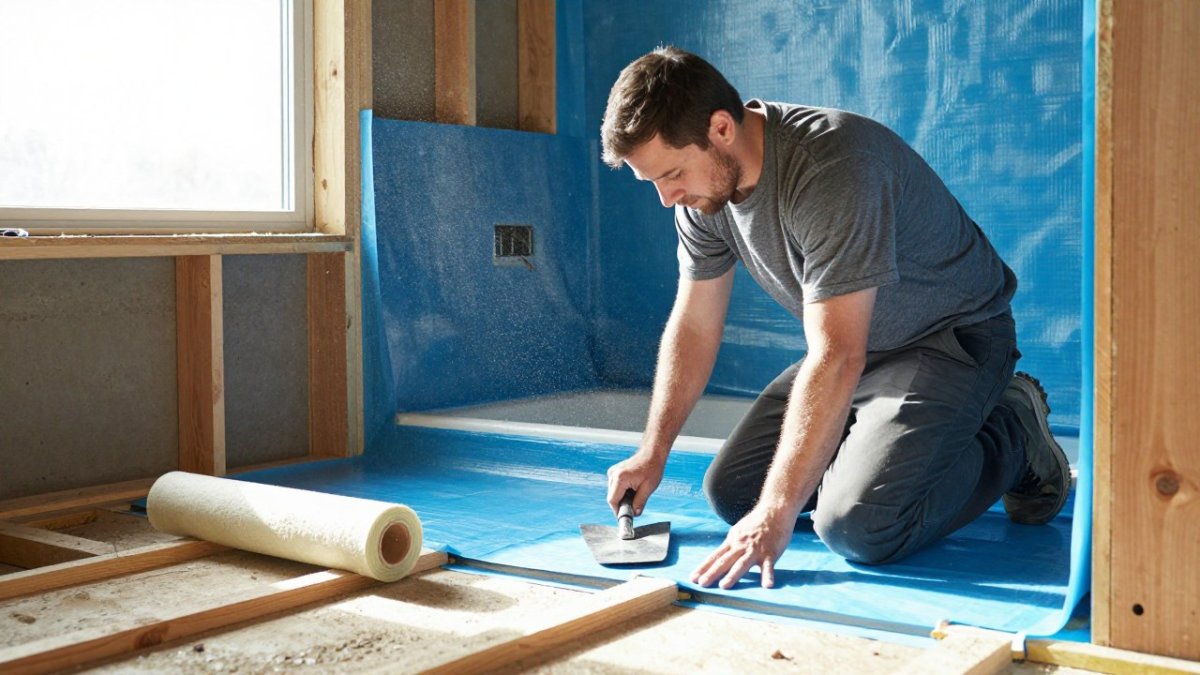
A bathroom shower waterproofing membrane is the main barrier between the water in the shower and the structure behind the tile. The two common families are sheet membranes, which are bonded to the substrate with thinset or adhesive and overlapped at seams, and liquid-applied membranes, which are rolled or brushed on in multiple coats to a specified wet-film thickness. Each has trade-offs: sheet membranes give a consistent factory thickness and fast coverage but demand precise seam overlaps and pre-formed corner pieces, while liquid membranes conform to odd shapes and penetrations but depend on coat count, dry time, and mil thickness being right every time.
Whichever system you choose, the assembly has to be treated as one compatible package. The backer board, thinset, membrane, drain flange, and sealant should come from or be approved by the same manufacturer, because mixing brands is one of the most common causes of bond failure. Confirm the substrate is clean, flat, and within the manufacturer's moisture and temperature limits before the first coat or sheet goes down.
Work from the bottom up and overlap seams the way the manufacturer specifies, typically a minimum overlap at seams and a wider overlap at changes of plane. Pay close attention to the tub flange and any corner where two planes meet, and use the system's pre-formed inside and outside corners rather than folding the membrane by hand. At the drain, the membrane must clamp into the drain's integrated flange; a membrane that stops short of the clamping ring leaves the most leak-prone joint in the shower unprotected.
Watch out: Liquid membranes that are applied too thin, or recoated before the previous coat has cured, look sealed but fail at the seams, follow the manufacturer's wet-film gauge and recoat window rather than eyeballing coverage. Carry the membrane past the wet zone and up the walls to the height the system requires, and let each layer cure fully before inspection or tile.
Step 4: Build Waterproof Shower Walls and Seal Every Seam
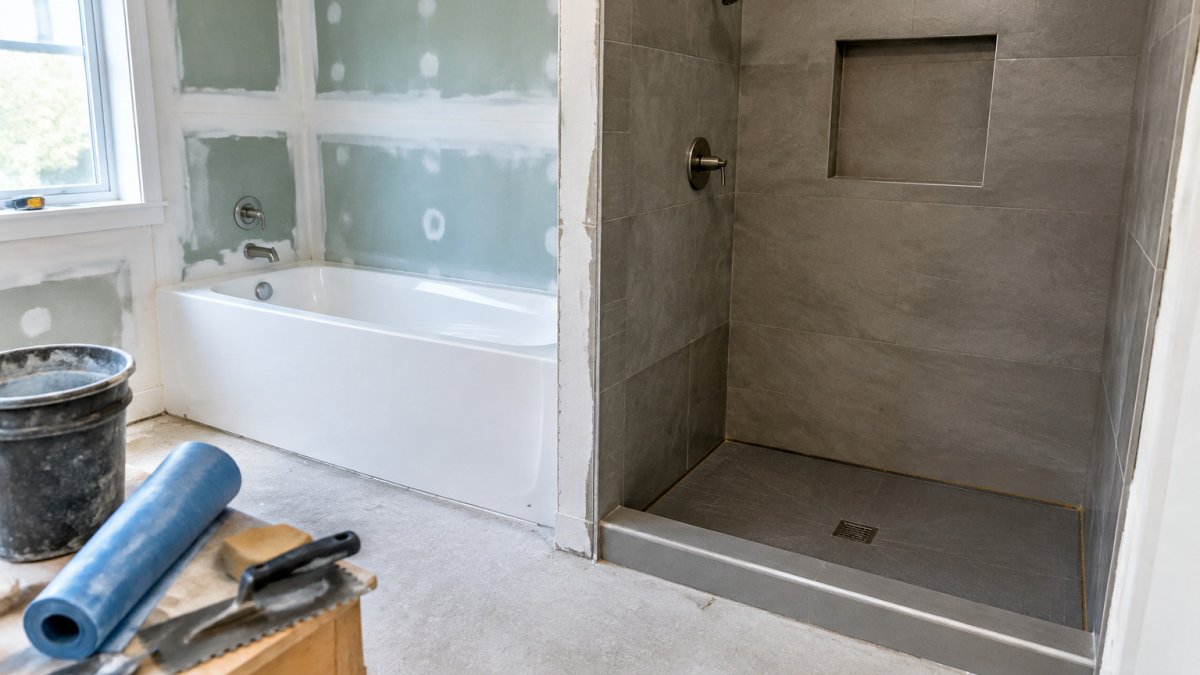
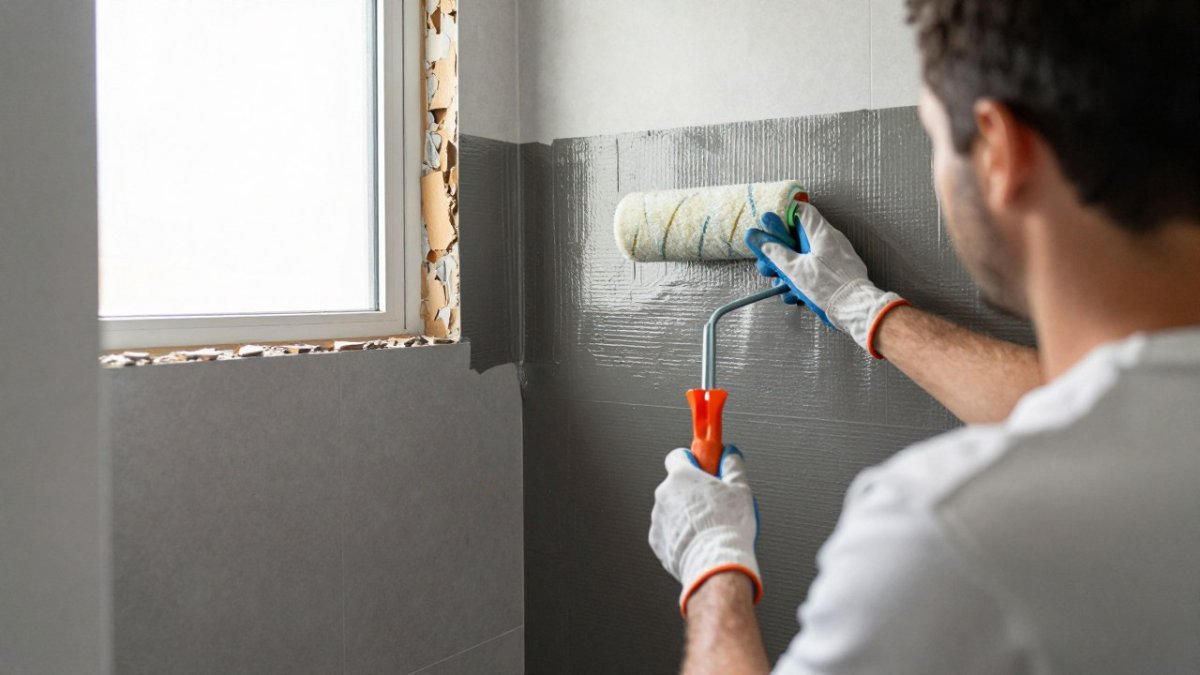
Waterproof shower walls depend on sealing every joint, corner, and penetration. Use the tape, sealant, or liquid membrane the system calls for at each seam, and let each layer cure before you move on. Seal around valves, shower heads, and niches the same way.
A contractor applying a waterproof membrane to a corner of a shower wall in a partly gutted bathroom, with work gloves, a roller, and daylight from a nearby window. The man is American.
Seal the bottom edge where the wall meets the shower pan, since this is a common path for leaks. Check each seam before tile goes on, while the surface is still easy to reach.
Step 5: Run a Flood Test Before Tile Goes In
A flood test checks the shower pan and drain before the finish work hides any leak, and it is the single inspection checkpoint most remodeling guides skip. Plug the drain with a test plug or inflatable bladder, fill the pan to just below the top of the curb, typically about an inch below, and mark the water level on the wall or curb with tape or a pencil line. Leave it for at least 24 hours, and check the level at the start, midway, and end.
Before you fill, confirm the membrane has fully cured and that the drain clamping ring is tight. A test run on an uncured liquid membrane can damage the coating, and a loose ring will read as a leak that is actually a fitting problem.
If the level falls, do not assume the pan is the culprit. A common pattern is that water wicks at the curb-to-floor junction, at the drain flange, or at a corner where the membrane was folded rather than fitted with a pre-formed piece. Drain the pan, let it dry, and inspect those three areas first. Repair with the same system's materials, recoat or re-lap as the manufacturer requires, cure, and retest from the start, a partial retest does not prove the repair.
Document the test with photos of the marked level at the start and end, and keep them with the project records. Many inspectors and warranty programs ask for flood-test evidence before tile, and having it on file protects you if a leak appears later. Schedule the test so it does not sit over a weekend when no one can observe the level.
Watch out: Filling the pan above the curb or leaving the test plug in place while the drain line is pressurized can force water into the wall cavity and create the very damage the test is meant to catch.
The flood test is the checkpoint that catches leaks before the finish work hides them, and the steps below summarise how to run it.
| Step | What to do | Time or level |
|---|---|---|
| Plug drain | Seal with a test plug or inflatable bladder | Before filling |
| Fill pan | Fill to just below the top of the curb | About 1 inch below curb |
| Mark level | Tape or pencil line on wall or curb | At start |
| Wait and check | Check water level at start, midway and end | At least 24 hours |
| Document | Photograph marked level at start and end | Keep with project records |
Step 6: How to Check for Leaks After a Bathroom Remodel
Check for leaks again once the bathroom is in use. Look for staining on the ceiling below, soft or warped flooring, peeling paint, and a musty odor. Check the grout and caulk along the shower walls and tub edge for cracks or gaps.
Run the shower for several minutes and then inspect the area around the tub, the floor, and the wall behind the valve. Recheck these spots after the first few weeks of normal use.
- Look for new stains on ceilings and nearby walls
- Feel for soft or spongy flooring around the tub
- Check caulk and grout for cracks or separation
- Watch the water meter for unexpected changes
Common Bathroom Remodeling Mistakes That Lead to Water Damage
Many leaks trace back to a few avoidable errors. The most common is skipping the flood test to save time. Others include using standard drywall in wet areas, leaving seams unsealed, and installing the fan at the wrong capacity.
Another frequent mistake is rushing the cure time for membranes and sealants. Tile set over a layer that is not fully cured can trap moisture and fail. Plan the schedule so each stage can dry completely.
Review this checklist with your contractor before work begins, so you know what to expect at each stage. Ask for a clear plan covering the membrane, the flood test, and the ventilation, and request a free quote to talk through your bathroom.
Water damage is the most expensive problem a bathroom remodel can create, and it is usually preventable. Revo Kitchen and Bath can walk you through each stage of waterproofing, from subfloor repair to the final leak check. Get a free quote from our team today to protect your bathroom and your home.
Frequently Asked Questions
How do you waterproof shower walls during a remodel?
Waterproof shower walls by installing moisture-resistant backer board or a non-absorbent panel system, then applying a continuous waterproof membrane over the entire wet area, including corners, the curb, and the area around the valve and tub flange. Seal every seam, joint, and penetration with the manufacturer's recommended tape or sealant before any tile is set. Allow the membrane to cure fully, follow the product's instructions for thickness and coverage, and check local building code requirements for shower assemblies. Clear documentation and photos at this stage make later inspections and repairs much easier.
What materials help prevent water damage behind shower walls?
Non-absorbent wall panels, cement board, and foam backer boards resist moisture far better than standard drywall, which can swell and grow mold when wet. A bathroom shower waterproofing membrane, whether sheet, liquid-applied, or board-integrated, creates the primary barrier. Use waterproof-rated thinset and grout, and seal corners and seams with compatible sealants. Material compatibility matters: confirm that the membrane, adhesive, and sealant are approved to work together so one product does not break down another.
How can you check for leaks after a bathroom remodel?
Run a flood test before tile by plugging the shower drain and filling the pan or waterproofed floor to about one inch for at least 24 hours, then checking the ceiling below and the walls for moisture. After completion, run the shower and fixtures for several minutes, inspect caulk lines and the tub or shower base, and check the floor and adjacent rooms for soft spots or stains. Look for dampness, discoloration, or a musty smell in the first weeks, since early signs of a slow leak are easy to miss.
Does homeowners insurance cover water damage in the bathroom?
Homeowners policies often cover sudden water damage, such as a burst supply line, but commonly exclude gradual leaks, long-term seepage, and damage from poor workmanship or lack of maintenance. Coverage varies by policy and provider, so review your declarations page and ask your insurer how they treat remodel-related water damage. Keep records of permits, inspections, and contractor invoices, which can help support any claim.