 How-to
Tub to Shower Conversion Waterproofing: Step-by-Step Guide
Quick Summary
A tub to shower conversion is waterproofed by applying a continuous membrane over cement or backer board on the walls and shower pan, then sealing every seam, corner, and pipe opening. Waterproof the substrate before tiling, since tile and grout alone let water through to the framing behind.
- Waterproof the full height of the new surround, not just the splash zone.
- Pressure test all plumbing connections before covering them with membrane.
- Overlap the pan membrane at least two inches onto the wall membrane.
- Slope the shower floor toward the drain, about 1/4 inch per foot.
- Flood test the pan for at least 24 hours before any tile goes down.
Table of Contents
- Tub to Shower Conversion Waterproofing: Step-by-Step Guide
- What Waterproofing Your Tub-to-Shower Conversion Involves
- Choosing the Best Waterproofing Method for Showers
- Removing the Tub and Preparing the Walls and Substrate
- How to Convert Bathtub Plumbing to Shower Without Causing Leaks
- Step-by-Step Waterproofing Sequence for Walls, Seams, and the Shower Pan
- Using a Bathtub to Shower Conversion Kit: What It Covers and What It Doesn't
- Flood Testing, Inspection, and Your Next Step With Revo Kitchen and Bath
- Frequently Asked Questions
Tub to Shower Conversion Waterproofing: Step-by-Step Guide
Last Updated: November 5, 2026
What Waterproofing Your Tub-to-Shower Conversion Involves
A tub-to-shower conversion changes how water moves through your bathroom, so waterproofing is the part that protects your home. Waterproofing is the foundation of a sound tub-to-shower conversion, not an afterthought. Waterproofing is the layer of membrane and sealant that keeps water out of the walls, floor, and subfloor behind your tile.
Here is the basic idea: tile is not waterproof. Grout is not waterproof. Water gets through both and reaches the material behind them. A continuous waterproof layer stops that water before it reaches the wall framing.
Skipping the membrane because the new tile looks solid can let water reach the framing and cause hidden damage that may not show up for months.
A proper conversion usually covers these areas:
- The walls: the full height of the new surround, not just the splash zone
- The shower pan or floor: the surface where water collects and drains
- Seams and corners: the inside corners and wall-to-floor joints
- Penetrations: the valve, showerhead, and any niche or shelf openings
Many homeowners ask about mold behind the tile. Mold grows when moisture stays trapped in the wall cavity. Keeping water out of that cavity is the main way to prevent it.
Choosing the Best Waterproofing Method for Showers
The best waterproofing method for showers depends on your wall type, budget, and how much skill the project needs. Most conversions use either a sheet membrane or a liquid-applied membrane over cement board or a backer board.
Sheet membranes come as large panels or rolls that you bond to the substrate. They are good at covering flat walls quickly and with fewer seams. Liquid membranes are painted or rolled on in several coats. They flow into corners and around pipes, which makes them useful for tight spots.
Here is how to compare the two:
| Option | Best For | Main Trade-off |
|---|---|---|
| Sheet membrane | Flat walls and fast installs | Seams and corners need careful sealing |
| Liquid membrane | Corners, pipe openings, irregular walls | Needs full cure time and even coats |
| Foam board panel system | Low-maintenance, all-in-one walls | Cost and fit depend on the product |
Choose a system the manufacturer designs to work with your substrate and tile. Mixing products from different systems can void warranties and create gaps where water can get in.
Removing the Tub and Preparing the Walls and Substrate
Removing the tub is the first real step in the conversion. Before you tear anything out, shut off the water supply and drain the lines. Disconnect the drain and overflow, then cut the tub free from the wall framing. Cast iron and steel tubs are heavy, so plan for help.
Once the tub is out, inspect the wall framing and subfloor. Look for soft wood, dark staining, or a musty smell. Any rot must be cut out and replaced before waterproofing starts. A waterproof layer cannot fix water damage that is already there.
Next, prepare the substrate:
- Remove old tile, drywall, and the tub surround down to the framing.
- Replace damaged studs or subfloor sections.
- Install cement board or a rated backer board on the walls.
- Make sure the surface is flat, clean, and dry before applying any membrane.
- Check that the shower floor is sloped toward the drain.
A common mistake is starting the membrane before the substrate is fully dry. Moisture trapped under a sheet or liquid layer will keep the wall wet from the inside.
How to Convert Bathtub Plumbing to Shower Without Causing Leaks
Converting bathtub plumbing to a shower usually means moving or capping the tub spout and adding a shower valve and head. The goal is to keep every connection accessible and sealed.
The steps look like this:
- Cap or remove the tub spout supply.
- Install a shower valve with a diverter at the correct height.
- Run a new shower arm to the desired head position.
- Test all connections under pressure before covering them.
- Keep the valve accessible through a panel or opening.
A common mistake is sealing a valve into the wall before pressure testing it. A slow drip inside the wall can go unnoticed for a long time. Test first, then waterproof.
Pipe penetrations need extra care. Each opening should be sealed with a collar, gasket, or liquid membrane that overlaps the surrounding layer. A small gap here is one of the most common sources of leaks in new conversions.
Step-by-Step Waterproofing Sequence for Walls, Seams, and the Shower Pan
The waterproofing sequence matters as much as the materials, and in a conversion the transitions are where most failures start. Work in this order so each layer overlaps the one below it and water always runs over a seam, never into it.
Step 1: Prepare and confirm the substrate. The substrate must be flat, clean, and dry before any membrane goes down.
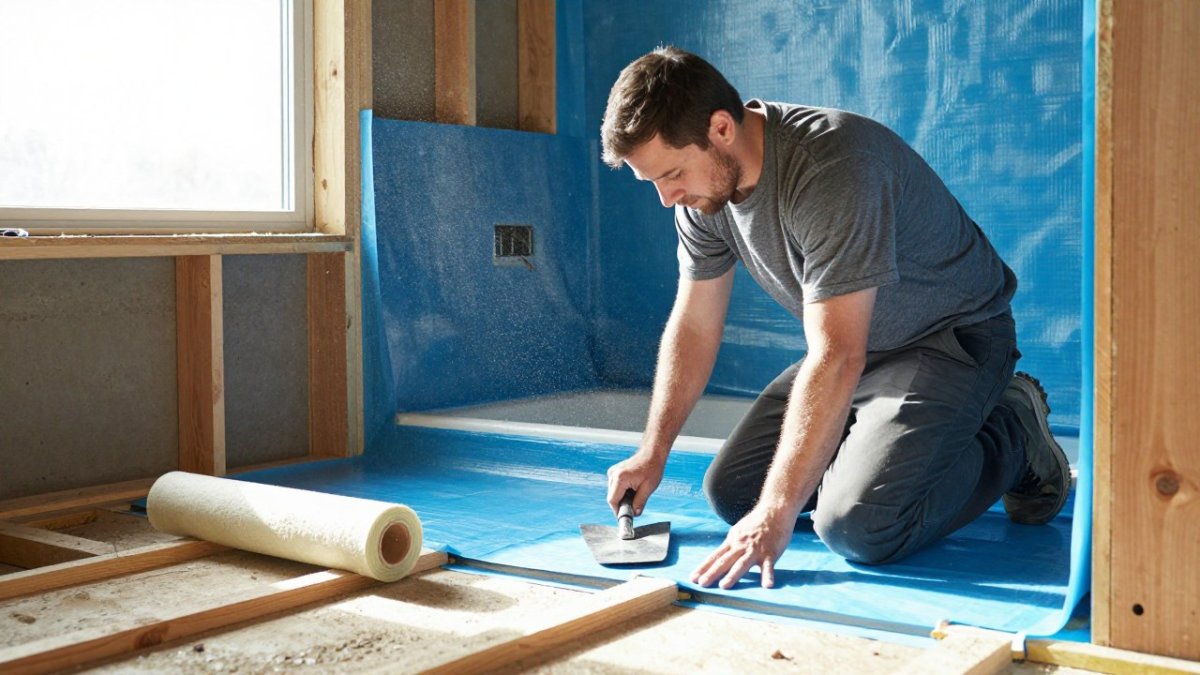
Step 2: Waterproof the shower pan and curb. Apply the pan membrane first, bonding it to the drain flange per the manufacturer's instructions. Extend it up and over the curb and onto the walls several inches.
Step 3: Waterproof the walls. Apply the wall membrane over the backer board, starting at the bottom so it overlaps the pan membrane by at least two inches. Run the membrane to the full height of the surround, not just the splash zone. If you are using a liquid membrane, apply it in the specified number of coats at the specified thickness, and let each coat cure before the next.
Step 4: Treat the floor-to-wall junction. This is the most vulnerable joint in a conversion because the old tub hid it.
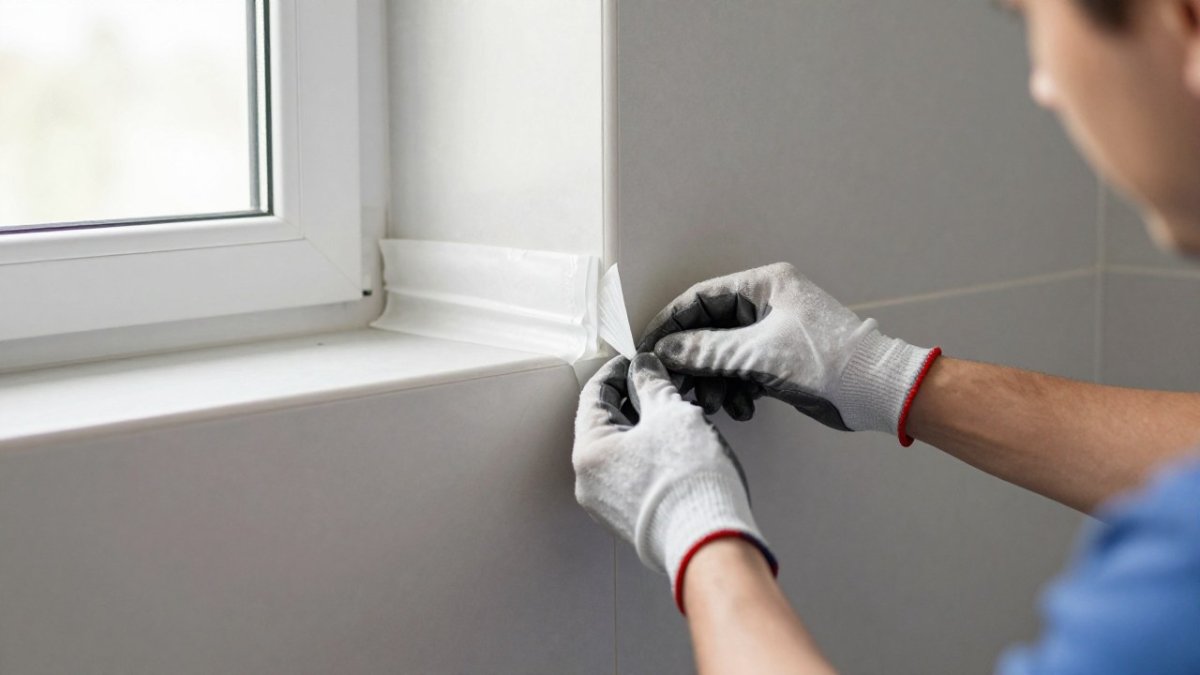
Step 5: Seal corners, seams, and fasteners. Add reinforcing tape or liquid membrane at every inside corner and wall-to-wall joint. Fill fastener heads and board joints with the manufacturer's sealant, then cover them with membrane. Do not rely on caulk alone at a change of plane.
Step 6: Seal penetrations. Install collars or gaskets around the valve, shower arm, and any niche or shelf openings, and overlap them into the surrounding membrane. Each opening should have a continuous seal that ties into the field membrane.
Step 7: Handle the transition where existing tile ends. In a conversion, the new shower surround often meets existing tile or drywall that stops short of the shower.
Step 8: Cure before tiling. Respect the full cure time for the membrane and any sealant. Rushing this step traps moisture and weakens the bond.
Watch out: the tub-removal footprint often leaves a gap or uneven patch in the subfloor. Fill and level it before the pan goes down, or the pan will flex and crack the waterproofing above it.
Using a Bathtub to Shower Conversion Kit: What It Covers and What It Doesn't
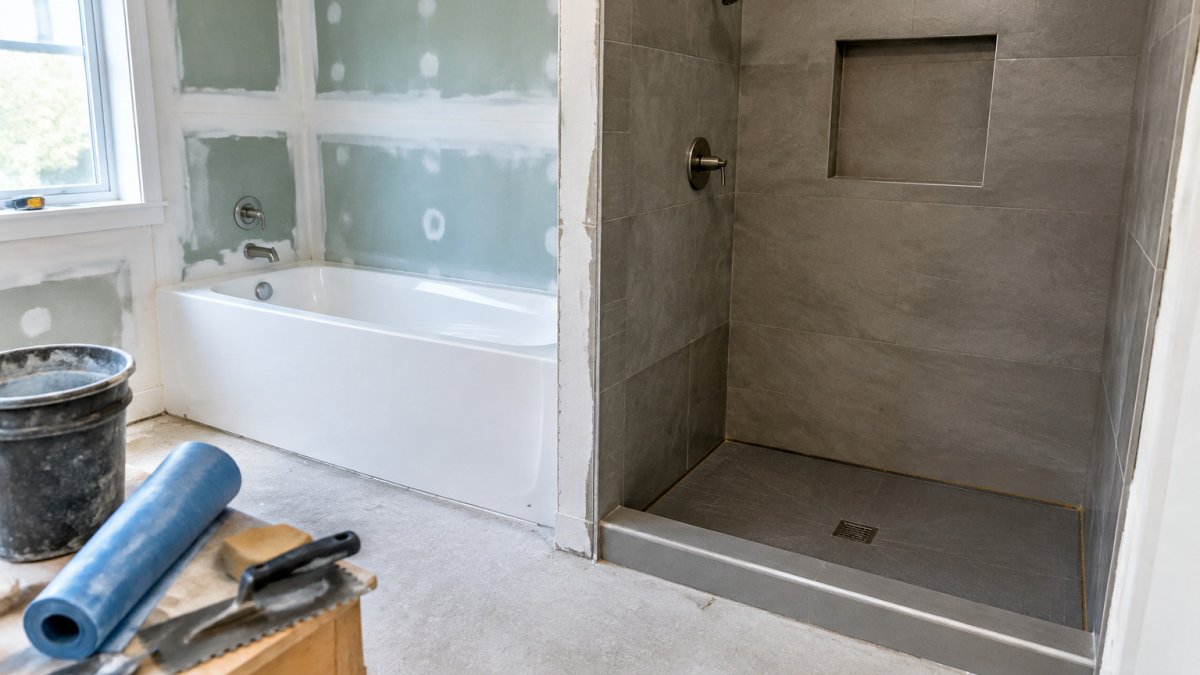
A bathtub to shower conversion kit is a packaged set of wall panels, a shower base, and trim pieces. Many kits include some waterproofing built into the panels. They can speed up a conversion and reduce the number of separate materials to buy.
Kits do not cover everything. A kit usually does not repair rotted framing, fix bad plumbing, or waterproof the penetrations you cut during installation. It also does not replace the need for correct floor slope and drain connections.
Before buying a kit, check these points:
- Does it include a full wall height or only a partial surround?
- Are the seams and corners sealed by the manufacturer or by you?
- Does it match your existing drain location and tub size?
- What warranty does it carry, and what does the warranty require?
Kit pricing depends on brand, size, finish, and delivery. Visit the Revo Kitchen and Bath website for current pricing or a quote on your project.
Flood Testing, Inspection, and Your Next Step With Revo Kitchen and Bath
Flood testing is the best way to confirm the waterproofing works before tile conceals it. Do it after the pan and wall membranes are cured and before any tile or thinset goes down.
How to flood test: Plug the drain with a test plug, fill the shower pan with water to the top of the curb or about one inch deep, and mark the water level on the wall. Leave it for at least 24 hours.
Pass/fail criteria: A pass means the water level holds within a small margin for evaporation and there is no dampness, staining, or soft spot anywhere outside the pan. A fail means the level drops noticeably, the membrane bubbles or lifts, or you find moisture below or beside the shower.
Coverage and seam checks: After the flood test, inspect every seam, corner, and penetration. Look for bubbles, fishmouths, or areas where the membrane pulled away from the substrate. Confirm the membrane overlaps at the floor-to-wall junction and that collars around the valve and shower arm are fully bonded. Check that the curb corners and drain flange are sealed.
Drainage check: Pour water across the pan and confirm it flows to the drain without pooling. Standing water in a corner means the slope is wrong and the pan will hold moisture even if the membrane is intact.
Troubleshooting: A persistent damp smell, loose tile, or a soft spot near the curb often points to a membrane breach that a localized patch will not fix.
Quality checks at each stage: Test the plumbing under pressure before closing the walls. Confirm the membrane is fully cured before tiling. Flood test the pan for at least 24 hours. Inspect all joints after tiling and sealing.
A tub-to-shower conversion is a detailed project, and waterproofing is the part where mistakes stay hidden the longest. If you want a waterproofing plan built around your bathroom, reach out to Revo Kitchen and Bath.
Frequently Asked Questions
Is it a good idea to convert a tub to a shower?
For many homeowners it is, especially when the goal is easier entry, a lower step, or a more modern bathroom. Removing a tub and installing a shower usually gives you a larger usable floor area and simpler daily cleaning. The tradeoff is that the wall and floor waterproofing must be done correctly, since a tub-to-shower conversion creates new seams and penetrations that can leak if sealed poorly. Confirm the subfloor and framing are sound before you start, and plan for the layout and drain location before ordering materials. Revo Kitchen and Bath can assess your bathroom and give you a quote based on your specific conditions.
Can a DIY kit convert a bathtub into a shower?
A conversion kit can cover some of the parts you need, such as a shower base, wall panels, or trim, but it does not replace the waterproofing work or the plumbing changes. Kits vary in what they include, so compare the components to your existing layout before buying. Check whether the manufacturer specifies the waterproofing approach and any required substrate. Pricing for kits and materials depends on size, configuration, and delivery, so request current prices from the supplier or from Revo Kitchen and Bath for an accurate figure.
Should shower waterproofing go behind or on top of the backer board?
Waterproofing generally goes on top of the backer board, meaning on the face that tile or panels will sit against, with the membrane continuous from the floor up the walls. Seams, corners, and fastener penetrations must be sealed as part of the membrane system. Follow the membrane manufacturer's instructions for overlap, cure time, and compatibility with your backer board, because the wrong sequence can trap moisture. A properly installed membrane is the main protection against mold behind the shower walls.
How do you know a tub-to-shower conversion is watertight?
Before tiling or installing panels, perform a flood test by plugging the drain and filling the shower pan to the recommended depth, usually at least 2 inches, then leaving it for 24 hours. Check the ceiling below and the walls for any moisture. Inspect all seams, corners, and penetrations for gaps or damage. Local building departments may require inspection of the waterproofing before finish materials are installed, so confirm the requirements with your permitting office.